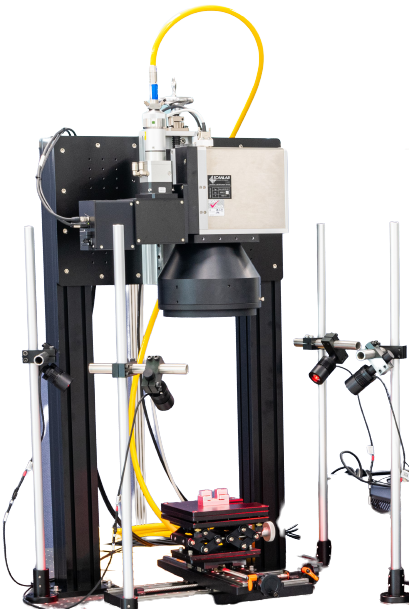
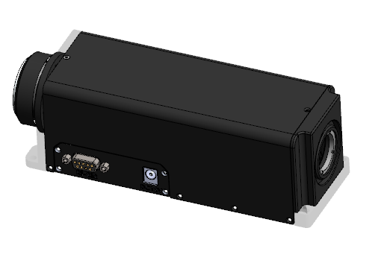
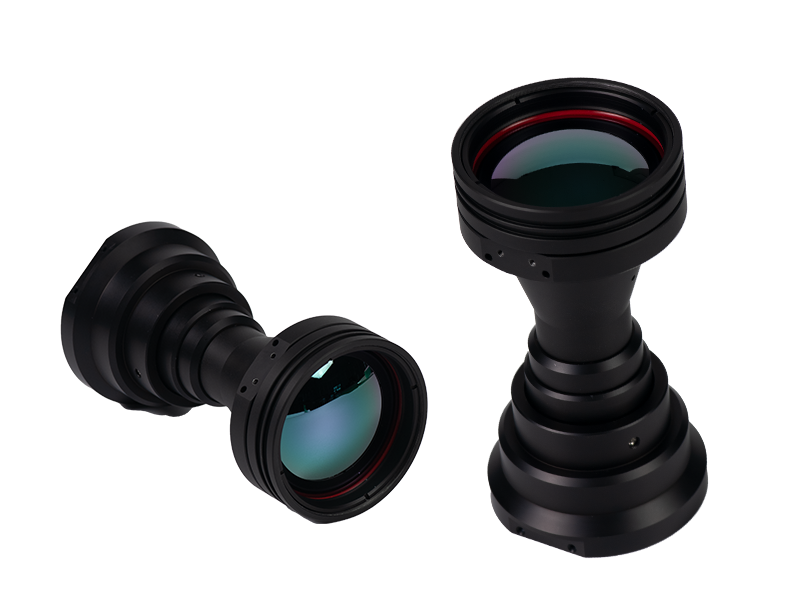
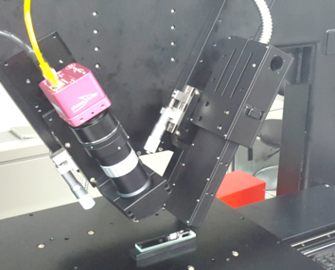
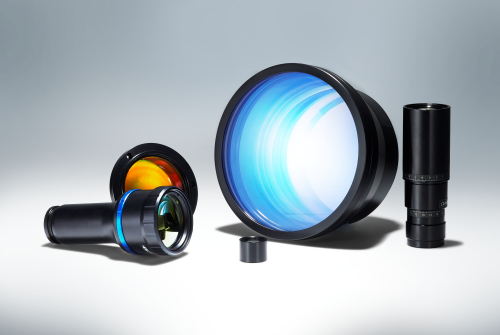
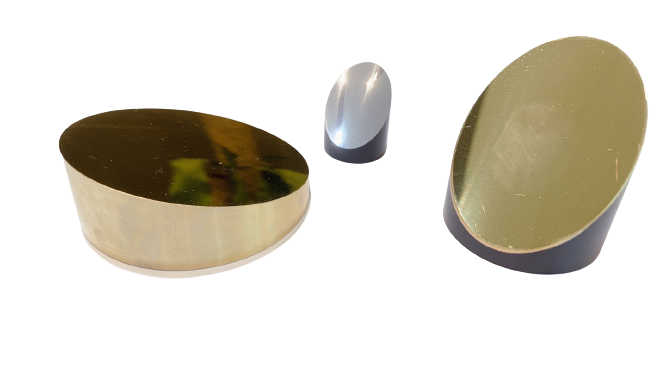
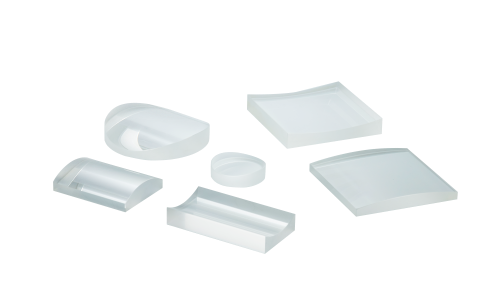
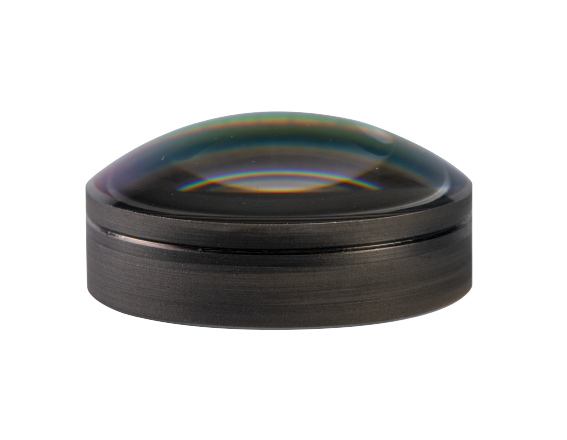
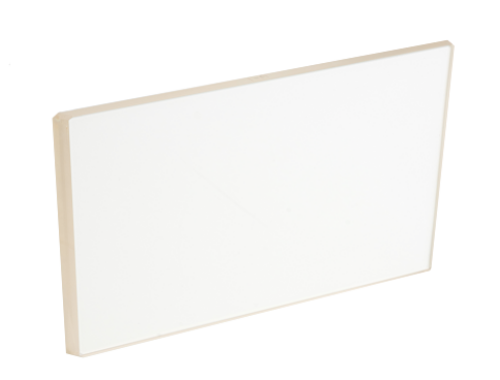
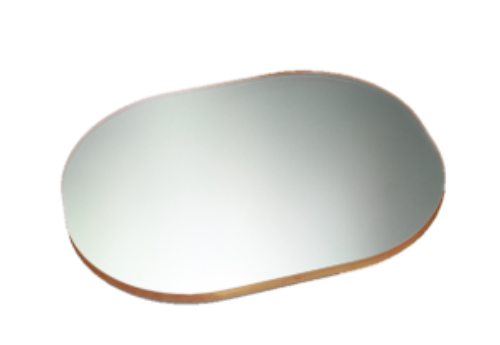
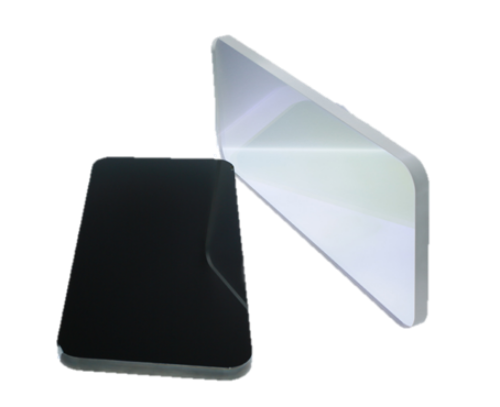
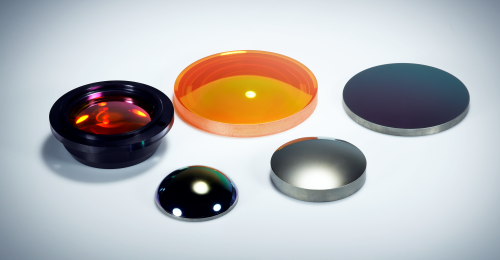
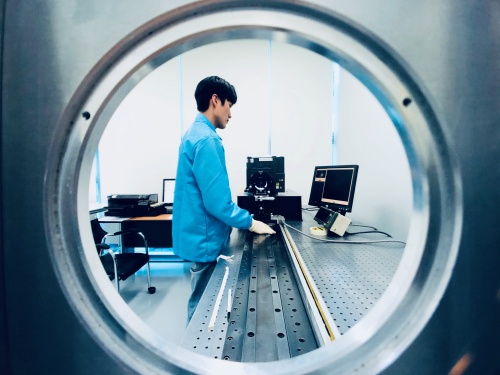
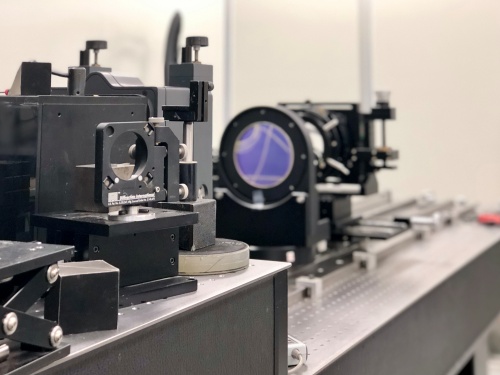
Precision Optical Modules
– Minimized back reflection
– Real-time monitoring
– Product position alignment
– Laser beam trajectory editing
– Automatic image & laser beam position correction
Applications
– Secondary battery welding and notching
– Semiconductor, PCB and automobile microprocessing: Welding, marking, cutting, soldering, etc.
Lens Assembly
– Substrate Material
UV Grade Fused Silica, CaF2 , MgF2 , BK7, ZnSe, Sapphire, Ge, Crystal Quartz, Other material is available– Surface Quality, Surface Flatness
10-5 Laser Quality, l/20 at 633nm
– Damage Threshold
20J/cm2, 8nsec @ 1064nm typical
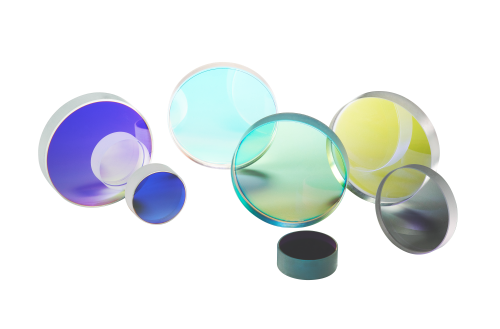
– Low loss, High damage threshold AR coatings available
– Output Coupler Mirrors (Partially Reflecting Mirrors)
– Femtosecond Laser Mirrors
– Nd:YAG, Nd:YVO4 & Nd:YLF Laser Mirrors
– Solid State Laser Mirrors & Gas Laser Mirrors
– Excimer Laser Mirrors
– Broadband Metal & Dielectric Mirrors
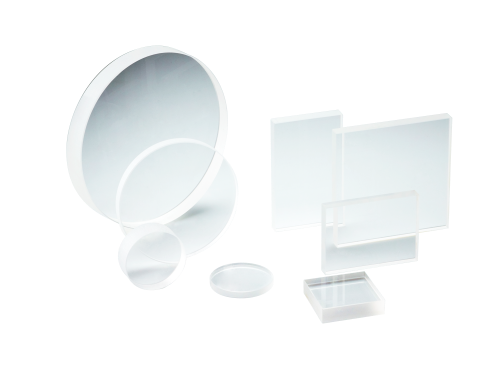
– Large window processing for ELA & LLO over 2000mm length
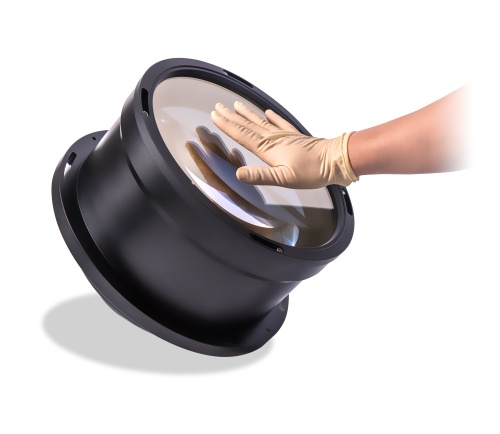
– Spherical lens processing over 500mm dia.
– Measurement system for large area by the 18inch interferometer.
– Being used to compress, focus or expand the light in a single dimension.
– Applications for laser scanners, holography, optical information processing, spectroscopy, dye laser, and scanning focal microscopes.
– Capability of production for large cylindrical lens greater than 1500mm applicable for LLO & Annealing.
– Substrate Material
UV Grade Fused Silica, CaF2 , MgF2 , BK7, ZnSe, SF11, Other material is available
– Surface Quality & Surface Figure
20-10 Laser Quality, l/4 at 633nm
– Low loss, High damage threshold AR coatings available
Defense & Aerospace Precision Optics
Size : 300mmdia (Negotiable)
Surface accuracy : 15nm(rms) 300mmdia / at 633nm (TWE)
Coating : VIS / NIR / MWIR Durable anti-reflection coating
Size : 400mmdia (Negotiable)
Surface accuracy : 30nm(rms) 300mmdia / at 633nm (TWE)
Coating : VIS / NIR / MWIR Durable anti-reflection coating
Surface accuracy : 60nm (rms)
per 100mmdia at 633nm
anti-reflection coating
– Ultra-precision processing and measurement can be provided for special cases.
Surface accuracy : 20~30nm(rms) 300mmdia / at 633nm (TWE)
Coating : VIS / NIR / MWIR / LWIR Durable anti-reflection coating
Customized Service
|
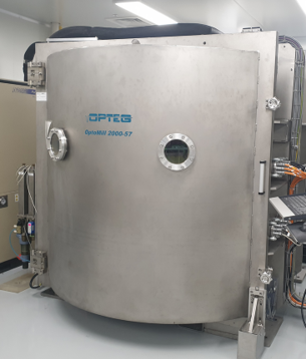
Ion Beam Sputtering – Wavelength(nm) : 240nm – 3000m |
Advantages of IBS • High durability |
High-precision high reflectivity measurement compared to reflection + transmission + absorption measurement
– High reflectivity measurement using resonator method [355,532,1064nm]
– High-reflection mirror’s reflectivity of 99.9995% can be measured.
– Lens measurement at various angles of incidence: 5-45º
– Measurement of s and p-pol
Reference page : GLACIER® https://www.ultrafast-innovations.com/devices/GLACIER.html
2. Advanced Processing & Measurement Areas (MRF, ASI, IBF )
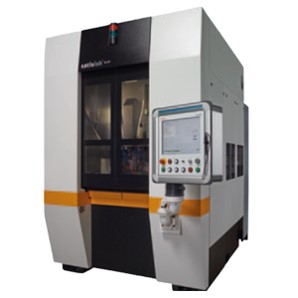
CNC Grinding machine (G1-2P)
Benefits :
-
Working range(mm) : Spiral (Φ500)_Asphere
Raster (380 x 250)_Rectangular - Axis repeatability : +/- 0.001mm
- Axis range(mm) : X(380), Y(580), Z(250), A(+90°/-30°), S1(10000rpm), C1(600rpm)
- Availability : Sphere, Asphere, Off-Axis-Parabolic(OAP), Freeform, Cylinder, edge, chamfering
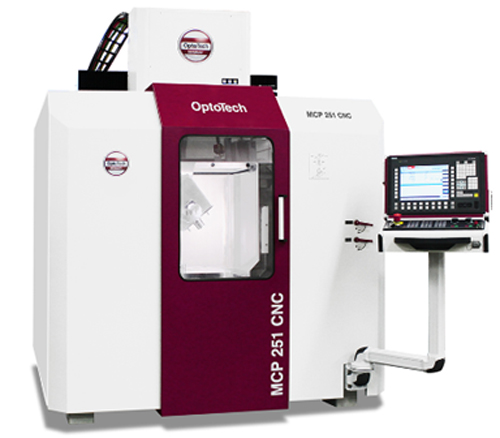
CNC Polisher (MCP 251)
Benefits :
- The large range of usable tools like Polishing Wheel (Wheel Polishing Technology), Active Fluid Jet Polishing (A-FJP), different pitch tools
- Direct interface to tactile and optical surface measuring systems like Taylor-Hobson Form Talysurf, Mahr MarSurf, Mitutoyo or OptoTech Interferometers
-
Use of conventional consumables
(e.g. Cerium oxide as polishing medium, polyurethane as polishing medium carrier)
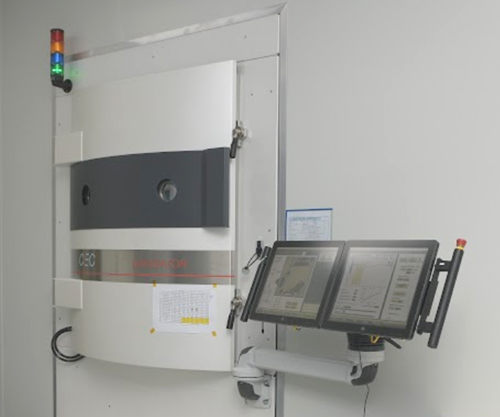
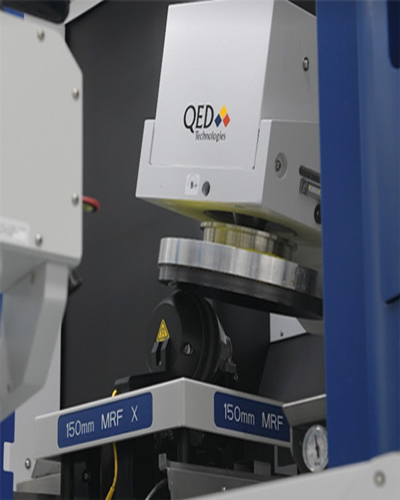
MRF (Q-flex 300)
Benefits :
- Provides a completely deterministic process that can be characterized to very high precision
- Significantly reduces cycle times due to its high rate of removal and maintains process stability
- Correction of transmitted wavefront (windows, phase plates, entire system correction on one surface)
- Optical glasses, single crystals (calcium fluoride, silicon…) and ceramics
- Square and rectangular aperture surfaces such as prisms, cylinders, and photoblank substrates
- High-aspect-ratio optics and substrates (thin film filters, etalon substrates, semiconductor wafers etc.)
- Removing micro-cracks and subsurface damage and improving glass resistance to laser damage
Reference Pages : Q-flex 300 : https://qedmrf.com/en/mrfpolishing/mrf-products/q-flex-300
MRF Application : https://qedmrf.com/en/mrfpolishing/mrf-applications
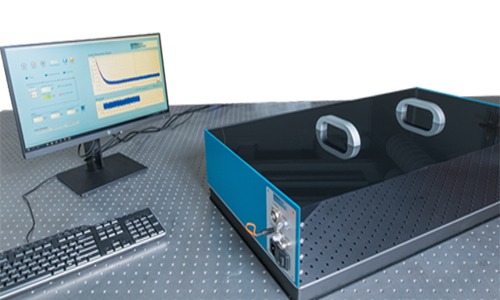
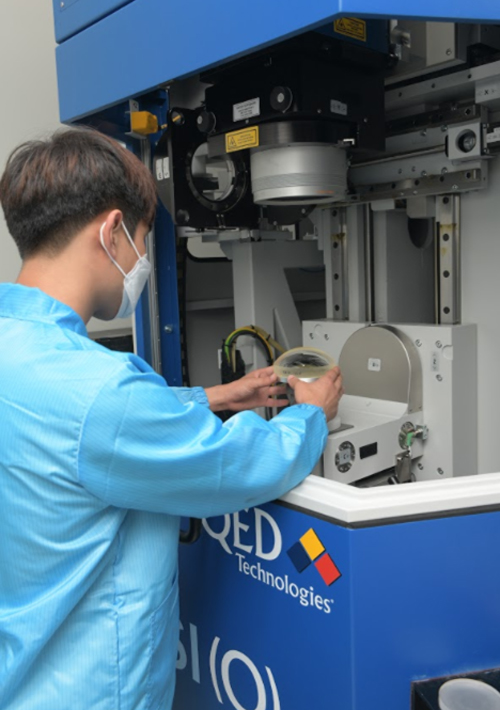
ASI (ASI(Q)-VON, Freeform)
Benefits :
- Improved accuracy _ automatically calibrates systematic instrument errors.
- Flexible, to minimize custom tooling and lead time
- Automated and easy-to-use
- Capable of testing aspheres without dedicated nulls
-
Freeform metrology software
- Enables interferometric measurements of freeform optics, without the use of a null lens
- measure a wide variety of freeforms including toroids, heads-up display optics, and off-axis sections of rotationally-symmetric optics
Reference Pages : ASI(Q) : https://qedmrf.com/en/ssimetrology/ssi-products/asiq
ASI(Q) application : https://qedmrf.com/en/ssimetrology/ssi-applications
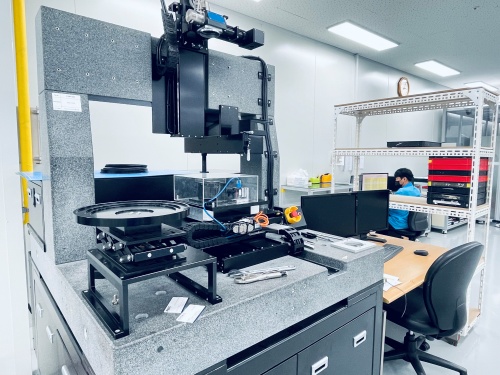
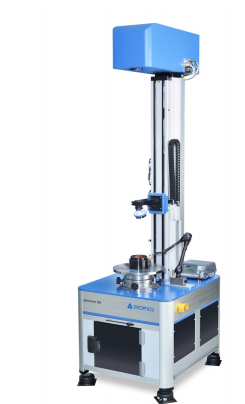
– Maximum measured diameter: 400mm
– Lens centering measurement accuracy : 0.1μm
– Lens centering measurement: 40 surfaces (20 lenses)
– Air Gap Measurement : 800mm
– Effective Focal Length (EFL)
– Back Focal Length (BFL)
– Radius of curvature
– IR lens & cylindrical lens measurement
– Modulation Transfer Function (MTF) on-axis
– Aspheric eccentricity measurement
Manufacturing Tolerance Chart
| Commercial(A,B) | Precision(A,B,C) | High precision | |
| Diameter(mm) | +0/-0.100 | +0/-0.025 | +0/-0.010 |
| Center thickness(mm) | ±0.100 | ±0.050 | ±0.020 |
| SAG(mm) | ±0.05 | ±0.025 | ±0.01 |
| Clear Aperture | 85% | 90% | 90% |
| Tolerance of radius of curvature (larger of two) | ±0.1%/5fr | ±0.05%/3fr | ±0.02%/1fr |
| Irregularity-interferometer(PV) | 1λ, λ/2 | λ/4, λ/6, λ/10 | λ/20 |
| Centering (Beam deviation) | 3 arcmin | 1 arcmin | 0.3 arcmin |
| Scratch Dig | 60-40 / 40-20 | 40-20 / 20-10 / 10-5 | 10-5 |
| Surface Roughness(Å rms) | 10 | 7 | 5 |
| Commercial | Precision | High precision | |
| Diameter(mm) | ±0.10 | ±0.05 | ±0.03 |
| Center thickness(mm) | ±0.10 | ±0.05 | ±0.01 |
| Tolerance of radius of curvature (larger of two) | ±0.1%/5fr | ±0.05%/3fr | ±0.02%/1fr |
| Surface form (Irregularity, PV) | 2um | λ/2 | λ/8 |
| Rotational invariant irregularity | 0.8um | λ/4 | λ/12 |
| RMS irregularity (RMSi) | 0.6um | λ/6 | λ/30 |
| Slope tolerance | 180arcsec/1mm | 40arcsec/1mm | 12arcsec/1mm |
| Edge thickness variation | 25um | 15um | 5um |
| Tilt angle of the aspheric surface to the second surface | 2.5 arcmin | 1.0 arcmin | 0.5 arcmin |
| Lateral displacement of the aspheric to the edge of the lens | 0.02mm | 0.015mm | 0.01mm |
| MIL-Scratch/Dig | 60-40 | 40-20 | 20-10 |
| Surface Roughness(rms) | 3.0nm | 2.0nm | 0.5nm |
이용약관 | 이메일무단수집거부 | 개인정보처리방침
업체명: 한국전광(주) | 대표 : 최영근 |
주소 : 인천광역시 계양구 서운산단로2길 36
사업자번호 :130-81-07467 | 대표전화 : 032-673-6114 | E-mail : korsales@keoc.kr
Copyright © 한국전광(주). All Rights Reserved.


